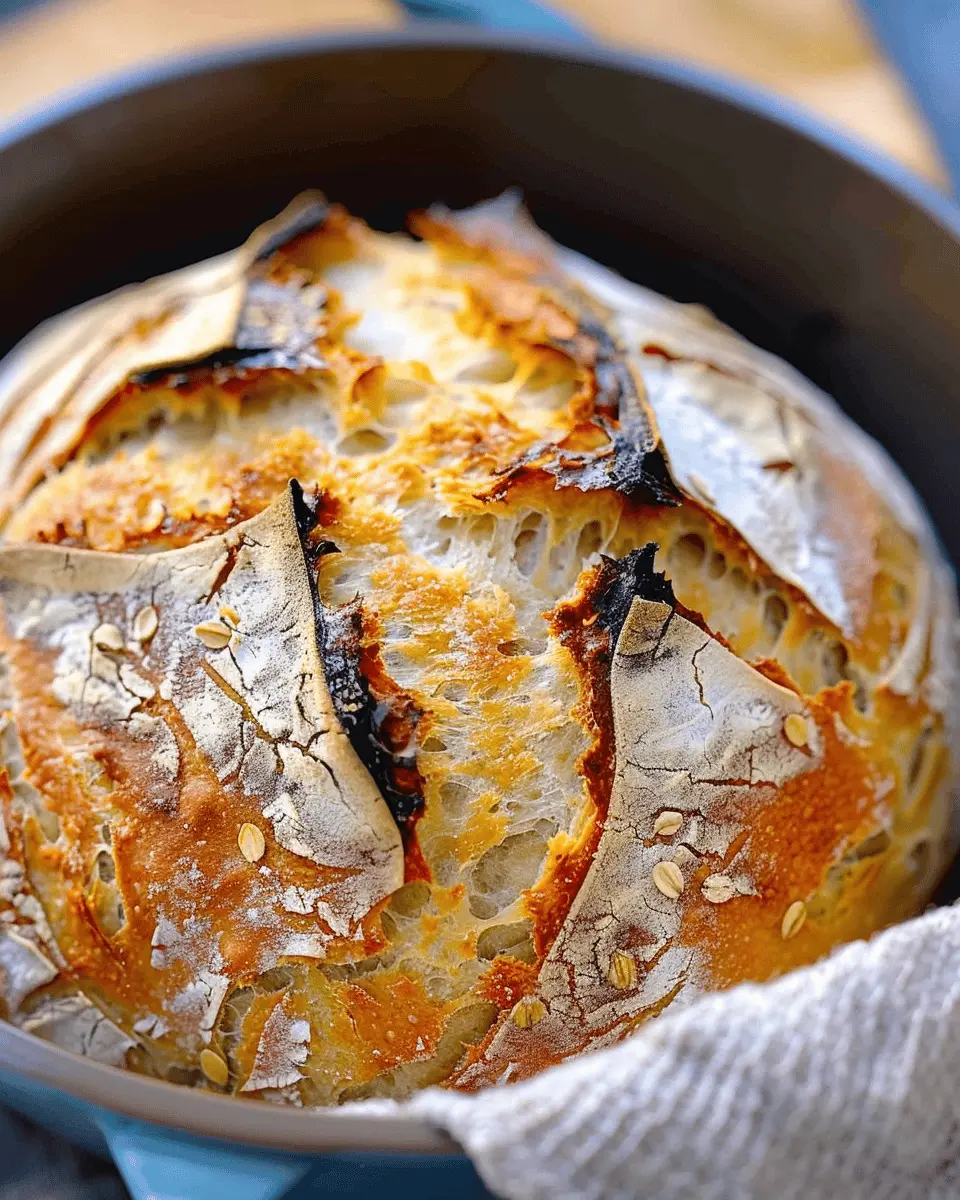
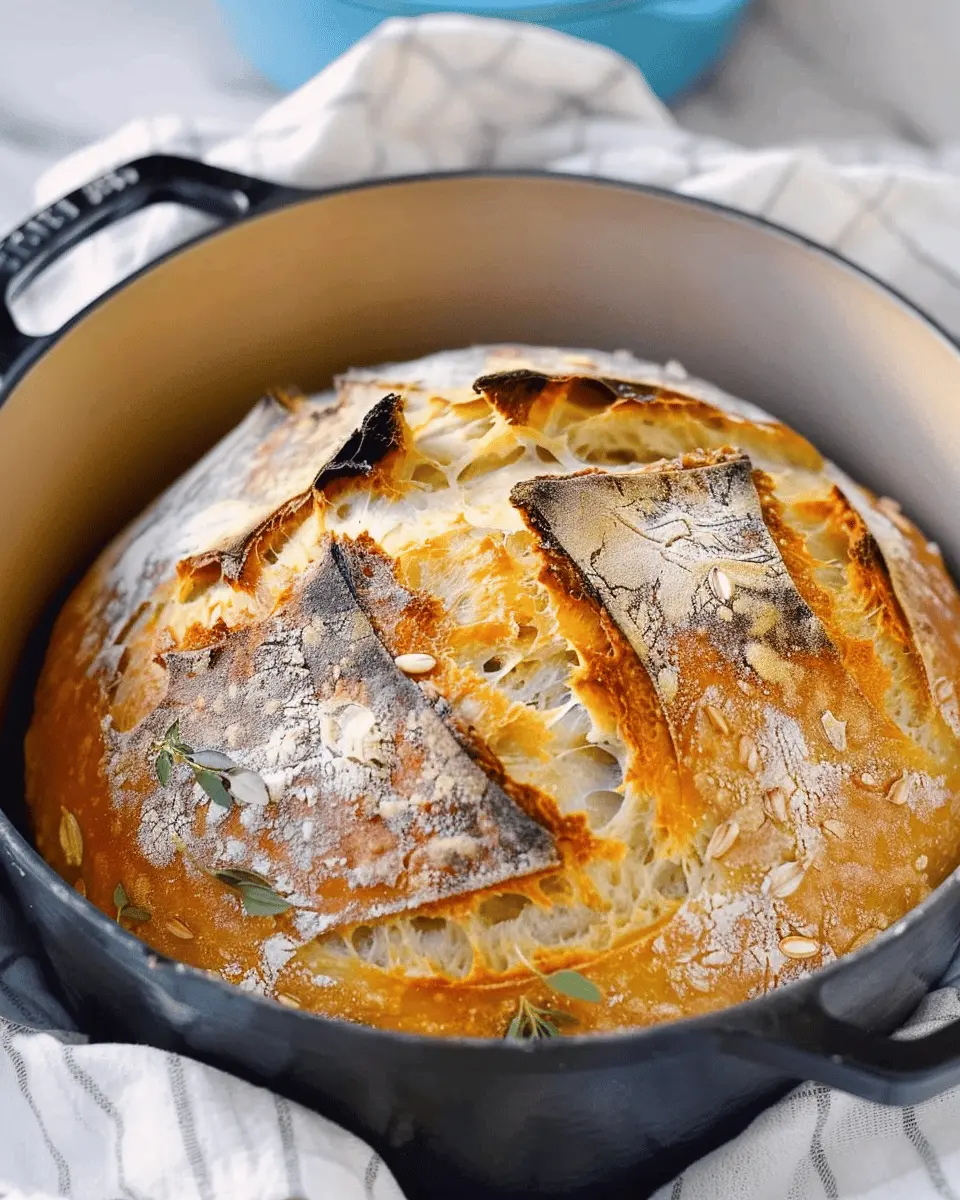
Introduction to Dutch Oven No Knead Crusty Bread
Imagine walking into your kitchen, the aroma of freshly baked bread wafting through the air, filling your home with warmth and comfort. For young professionals, especially those with busy schedules, this scene can feel like a luxury—almost out of reach. However, making dutch oven no knead crusty bread is not only achievable but simplifies the process to a delightful art.
Why Homemade Bread is a Game-Changer for Young Professionals
Let’s face it: juggling work, social obligations, and personal interests can leave little time for cooking, much less baking bread from scratch. Yet, uncovering the joy of making your own bread allows you to savor the flavors and textures that store-bought options simply can’t match. A study published by the Journal of Culinary Science & Technology shows that homemade bread can be both healthier and tastier than most commercial varieties. With just a few simple ingredients, you can create something that nourishes both body and spirit.
-
Save Money: Have you ever considered how much you spend on artisan bread? With a little effort, you can whip up a loaf that rivals the bakery without the hefty price tag.
-
Control Ingredients: The benefits of making your own bread extend beyond cost. For those with dietary restrictions or preferences, homemade bread means you can choose your ingredients—directly addressing any concerns related to preservatives or allergens.
-
Satisfying and Fun: There’s something truly rewarding about kneading dough (even if that step is skipped here) and crafting something from scratch. It can transform a stressful day into a creative outlet.
Creating dutch oven no knead crusty bread is straightforward and requires minimal time investment. The beauty lies in the extended rise time that allows flavors to develop without the need for intensive kneading. Trust me, once you sink your teeth into that crusty exterior and soft, chewy center, you’ll be hooked!
For a detailed recipe, check out this sourdough bread making guide. You’ll discover the magic of this technique that many home bakers swear by!
So, why not take the plunge? Grab your ingredients, dust off that dutch oven, and let’s bake something miraculous!
Ingredients for Dutch Oven No Knead Crusty Bread
When diving into the world of Dutch oven no knead crusty bread, a few essential ingredients will help you achieve that perfect crust and soft, airy interior. Let’s break it down.
Essential ingredients for crusty bread
- All-Purpose Flour: 3 cups; this flour offers the right balance of protein for a great rise.
- Warm Water: 1.5 cups; not too hot, just warm enough to activate the yeast.
- Salt: 1 teaspoon; enhances flavor and strengthens gluten.
- Instant Yeast: 1/4 teaspoon; for that delightful rise without the need for kneading.
These four ingredients form the backbone of your Dutch oven no knead crusty bread. Simple, right?
Optional ingredients for flavor variations
- Olive Oil: A splash can enhance richness.
- Herbs: Think rosemary, thyme, or even chopped garlic for an aromatic twist.
- Seeds: Sunflower or sesame seeds add texture and flavor.
- Cheese: A handful of grated cheese introduces a savory depth.
Feel free to play around with these optional ingredients to make your loaf uniquely yours! For more inspiration, check out resources like King Arthur Baking or The Kitchn for expert tips. Happy baking!
Preparing Dutch Oven No Knead Crusty Bread
There’s nothing quite like the smell of freshly baked bread wafting through your kitchen. If you want to impress friends or simply indulge in homemade comfort, preparing Dutch oven no knead crusty bread is a fantastic, straightforward option. Let’s break down the process into easy-to-follow steps.
Mixing the Ingredients
First things first, gather your ingredients. You’ll need:
- 3 cups all-purpose flour
- 1 ¼ teaspoons salt
- ½ teaspoon instant yeast
- 1 ½ cups warm water (about 110°F)
In a large mixing bowl, combine the flour, salt, and yeast. Using a wooden spoon or spatula, mix the dry ingredients until they’re fully integrated. Once that’s done, pour in the warm water. Gently stir until everything just comes together into a shaggy, sticky dough. No need for perfection here—the less you handle the dough, the better your bread will turn out.
Did you know that using a high-protein flour can enhance your bread’s crust? Check out this guide to flour types from King Arthur Baking to find the right one for your Italian loaf.
Letting the Dough Rise
Now, it’s time for a little patience. Cover your bowl with plastic wrap or a kitchen towel and let it sit at room temperature for 12 to 18 hours. This long rise allows the flavors to develop while the gluten structure forms naturally, resulting in that perfect crusty exterior and chewy center.
When left to rise, the dough should grow significantly in size, almost doubling. After the waiting game is over, you’ll notice those beautiful air bubbles dotted throughout, indicating that your Dutch oven no knead crusty bread is well on its way.
Preheating the Dutch Oven
While your dough is resting, preheat your Dutch oven. This is a crucial step that creates a steamy environment, similar to that of a professional bread oven. Place your Dutch oven with its lid in the oven and set it to 450°F. Preheat for at least 30 minutes, which will provide that lovely crust.
Make sure to use a cast iron Dutch oven; the heat retention and distribution are key for achieving that bakery-quality bread. For safety, be careful when removing the hot pot from the oven—use oven mitts!
Shaping the Loaf
Once your dough has risen, you’ll need to shape it into a loaf. Dust your work surface with a bit of flour, and gently scrape out the dough onto it. Avoid knocking out too much air. With floured hands, form the dough into a rough ball, tucking the edges in.
Let it rest for about 15 minutes. Meanwhile, you can prepare your work surface or line it with parchment if desired. This resting period will help relax the gluten, making it easier to shape the loaf.
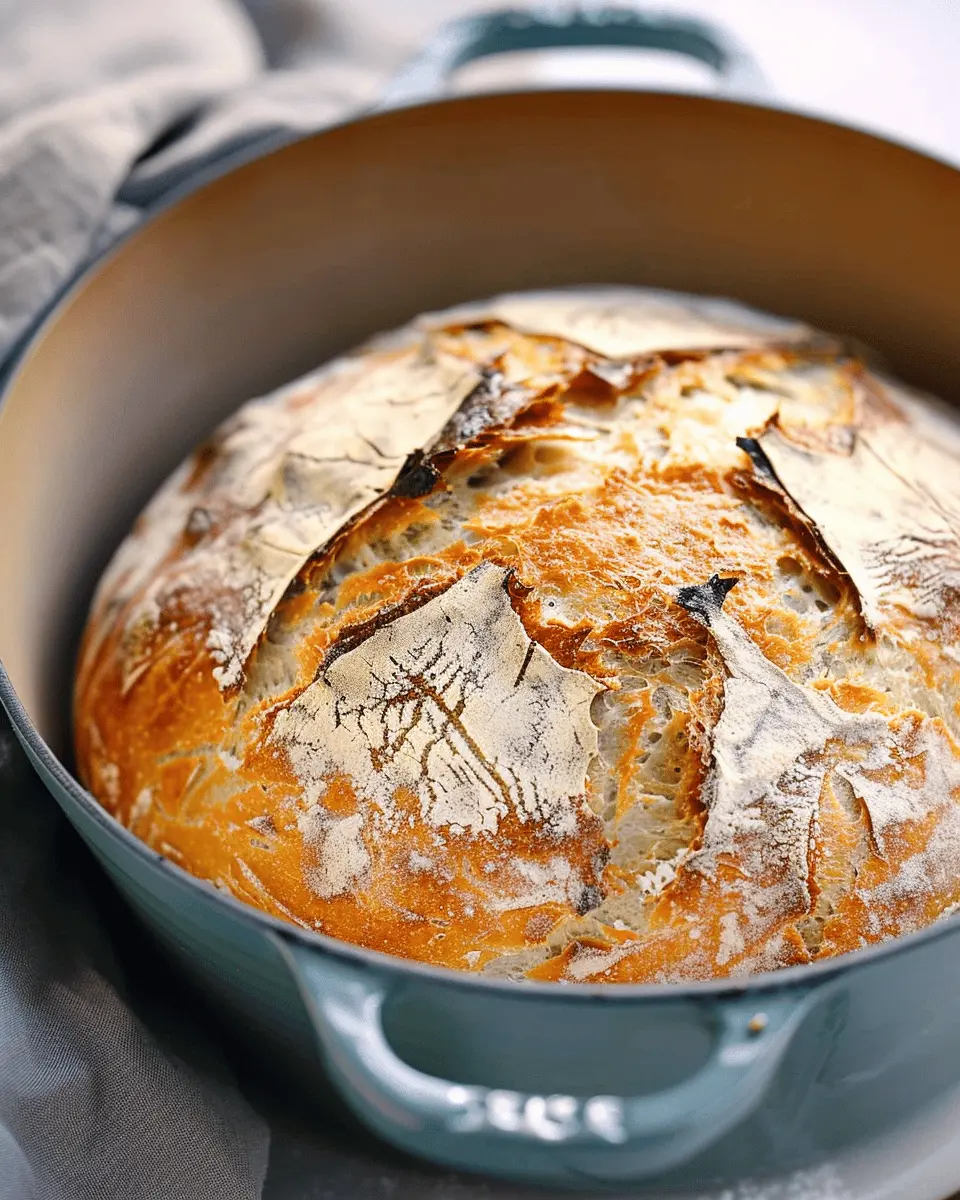
Baking the Bread
After the dough has rested, it’s time for the grand finale! Carefully remove the hot Dutch oven from the oven and uncover it. Place the dough ball inside, cover again with the lid, and return it to the oven. Bake for 30 minutes with the lid on to lock in moisture, and then another 15 to 30 minutes uncovered to achieve that golden-brown crust.
When the bread is done, it should make a hollow sound when tapped on the bottom. Allow it to cool on a wire rack before slicing. This waiting time, though it might feel like torture, is essential for setting the texture.
With these steps in mind, you’re all set to create your Dutch oven no knead crusty bread. Embrace the simplicity of this recipe and enjoy the wonderful aromas as you embark on your bread-baking journey. And who knows, it might just become a staple in your kitchen!
Variations on Dutch Oven No Knead Crusty Bread
When it comes to Dutch oven no knead crusty bread, the beauty lies in its versatility. While the classic recipe is a hit on its own, why not explore some delicious variations that add a personal touch? Here are a couple of ideas to elevate your bread-making experience:
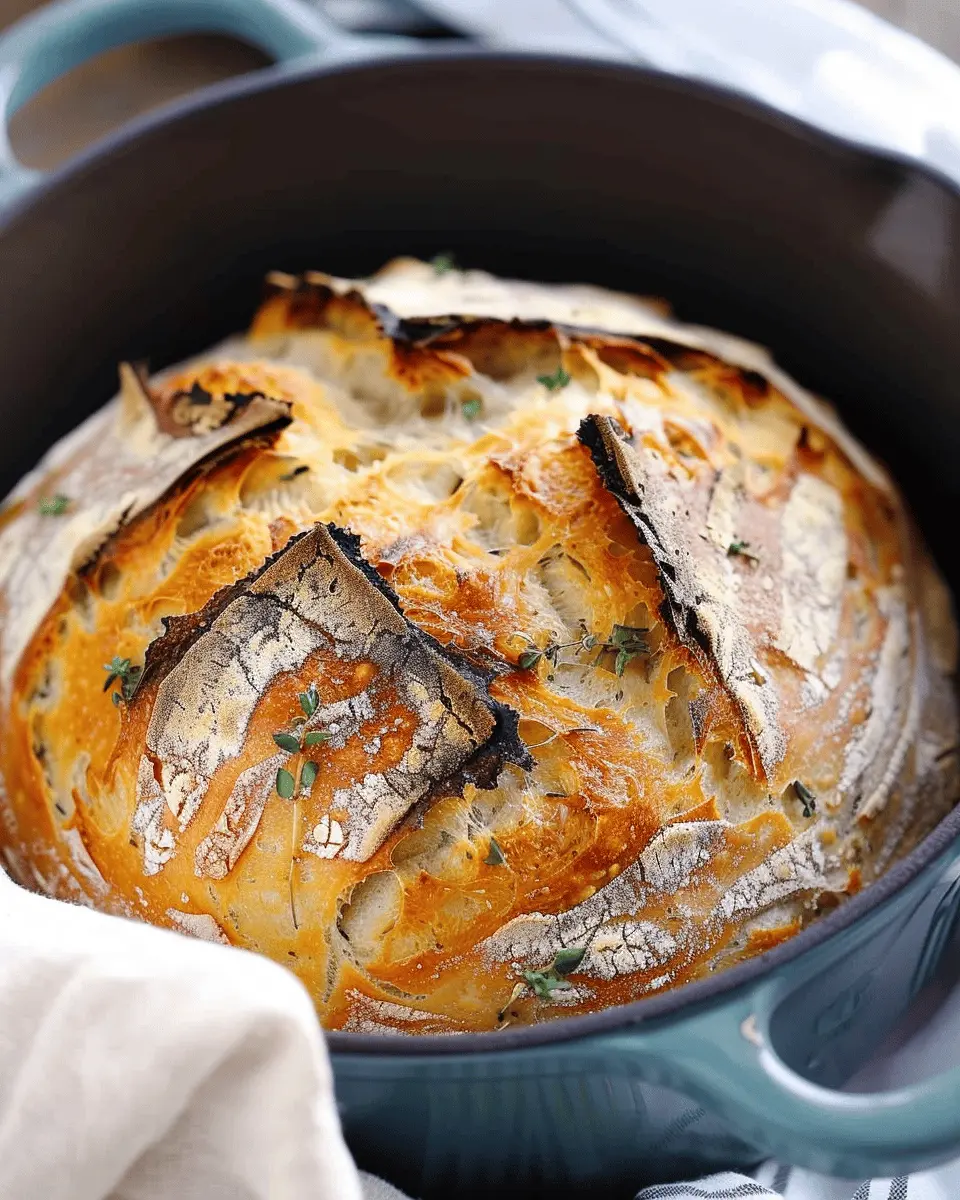
Adding herbs and spices
This is where you can let your creativity soar. Fresh or dried herbs like rosemary, thyme, and basil can transform your loaf into a savory masterpiece. Adding spices such as garlic powder or onion powder can also enhance the flavor profile. Here’s a simple approach:
- Mix 1 to 2 tablespoons of your favorite herbs or spices into the flour before the initial rise.
- Experiment with combinations—maybe try a mix of rosemary and garlic for an Italian twist.
This not only boosts flavor but also invites a wonderful aroma into your kitchen. Need inspiration? Check out this article on baking with herbs for some actionable tips.
Incorporating cheese or roasted garlic
Imagine pulling apart your Dutch oven no knead crusty bread only to find pockets of melted cheese or sweet roasted garlic inside. For cheese lovers, add 1 cup of grated cheese (think aged cheddar or gouda) into the dough during mixing for a creamy burst.
Roasted garlic is another fantastic addition. Simply roast a whole bulb of garlic until it’s golden and tender, then fold the cloves into your dough before the second rise.
These variations not only make your bread unique but also create a centerpiece for gatherings. If you’re planning a cozy evening, serve your variations with a simple olive oil dip or alongside a warm soup for a comforting meal.
The possibilities are endless with Dutch oven no knead crusty bread, so how will you customize yours?
Cooking Tips and Notes for Dutch Oven No Knead Crusty Bread
Troubleshooting Dough Consistency
When making Dutch oven no knead crusty bread, achieving the right dough consistency is crucial. If your dough seems too wet, don’t panic! You can adjust by sprinkling in a little extra flour, but do so gradually, as a dough that’s too dry won’t rise properly. Conversely, if it’s too dry, you might want to mix in a splash of water or milk to balance it out. Remember, the dough should be sticky yet workable. For visual guidance, consider checking out resources from King Arthur Baking.
Avoiding Common Baking Mistakes
Here are some go-to tips for a successful bake:
- Patience is key: Allowing your dough to rest is vital for developing flavor and texture. Don’t rush the 12-18 hour rising time.
- Preheat your oven: Always preheat your Dutch oven before adding the dough to maximize steam and achieve that perfect crust.
- Watch your bake time: Ovens can vary! Keep an eye on your bread as it approaches the baking end, ensuring you achieve that golden brown crust.
These simple adjustments can elevate your Dutch oven no knead crusty bread game! Enjoy the delicious journey of baking!
Serving Suggestions for Dutch Oven No Knead Crusty Bread
Perfect Pairings for Your Homemade Bread
Imagine slicing into your dutch oven no knead crusty bread, its golden crust crackling as you pull apart a piece. This delightful loaf pairs beautifully with a variety of toppings. Consider:
- Avocado toast: Mash ripe avocado atop a slice and sprinkle with salt and pepper for a breakfast treat.
- Soup companion: Use it as a side with hearty vegetable or chicken soup. It’s perfect for dipping!
- Cheese platter: Slice it up and serve alongside a selection of cheeses, nuts, and fresh fruits for an inviting charcuterie board.
Creative Uses for Leftover Bread
Don’t let any part of your dutch oven no knead crusty bread go to waste! Here are some inventive ideas:
- Croutons: Cube leftover bread, toss with olive oil and seasonings, then toast for crunchy salad toppings.
- Bread pudding: Transform stale bread into a delicious dessert by baking it with eggs, milk, and sugar.
- French toast: For a delightful brunch, dip slices in a custard mixture and pan-fry them until golden.
For more tips on bread uses, check out this guide on leftover bread recipes. Enjoy exploring the endless possibilities!
Time Breakdown for Dutch Oven No Knead Crusty Bread
Preparation Time
Getting started with your Dutch oven no knead crusty bread only requires about 10 minutes of hands-on time. You’ll mix your flour, water, salt, and yeast, creating a wet dough that sets the stage for your delicious bread.
Rising Time
Here’s where the magic happens. Allow your dough to rise undisturbed for 12 to 18 hours at room temperature. This long fermentation is key for flavor development; think of it as the dough taking a beauty nap before it transforms into something divine.
Baking Time
Once risen, preheat your Dutch oven and bake your bread for about 30 minutes, covered, followed by an additional 15 minutes uncovered for that golden crust.
Total Time
Including preparation, rise, and bake, you’re looking at a total time range of 12 to 19 hours. Though this may seem long, most of that time is hands-off, making it perfect for busy young professionals like you.
Ready to whip up a batch? Check out more tips on achieving the best bread texture here. Happy baking!
Nutritional Facts for Dutch Oven No Knead Crusty Bread
When it comes to Dutch Oven No Knead Crusty Bread, enjoying this homemade delight doesn’t mean we should overlook its nutritional aspects. Here’s a breakdown of its vital components to help you make informed decisions!
Calories per serving
A single serving of this delectable bread typically contains about 150-200 calories, depending on the portion size and specific ingredients used. It’s a satisfying choice that can add a bit of joy to your daily meals without overwhelming your calorie count.
Protein content
In terms of protein, Dutch Oven No Knead Crusty Bread boasts approximately 5-7 grams per serving. This modest protein content can perfectly complement a meal, especially when paired with protein-rich toppings like Turkey Bacon or Chicken Ham.
Sodium levels
When crafting your bread, you have control over the sodium levels. Typically, a serving has around 200-300 mg of sodium. If you’re watching your salt intake, consider adjusting the salt in your recipe.
For more in-depth nutritional tips, check out resources from the USDA or explore articles on healthy baking on Healthline. Enjoy your baking adventure!
FAQ about Dutch Oven No Knead Crusty Bread
When tackling the delicious journey of making Dutch oven no knead crusty bread, it’s normal to have a few questions as you perfect your loaf. Let’s dive into some common queries!
Why is my bread crust not crispy?
A perfectly crispy crust can transform your bread from ordinary to extraordinary. If your Dutch oven no knead crusty bread isn’t achieving that golden, crunchy exterior, it might be due to a few factors:
- Steam: Ensure you’re covering your Dutch oven properly during the initial baking phase. Trapping steam helps form that crust.
- Oven Temperature: Make sure your oven is preheated to the right temperature. Invest in an oven thermometer if necessary—it’s a game changer for your baking!
- Baking Time: Perhaps the bread needs a little longer in the oven. Keep an eye on the color, and don’t hesitate to extend the baking time slightly.
How can I store leftovers effectively?
If you’ve found yourself with extra Dutch oven no knead crusty bread—congratulations! To keep your leftovers fresh:
- Room Temperature: Store the bread in a paper bag for a day or two. Avoid plastic, as it traps moisture and can make the crust soggy.
- Freezing: For longer storage, wrap your bread tightly in plastic wrap and then in foil before freezing. Slice it beforehand for more convenient defrosting!
Can I freeze the bread?
Absolutely! Freezing your Dutch oven no knead crusty bread is an excellent way to enjoy your creation later. Just follow these steps:
- Wrap It Up: Once cooled, slice if preferred, then tightly wrap your loaf in plastic wrap and then in foil. This double-layer ensures it stays fresh.
- Defrosting: To enjoy, take it out and let it sit at room temperature for a few hours, or pop it in a warm oven for a few minutes to revive the crust.
For more tips on storing bread effectively, check out this helpful guide on bread preservation. Whether you’re a novice or a pro, these tricks will help you savor your delicious Dutch oven no knead crusty bread well beyond baking day!
Conclusion on Dutch Oven No Knead Crusty Bread
Recap of the Benefits of Homemade Bread
Creating your own Dutch oven no knead crusty bread isn’t just a kitchen project; it’s an experience filled with rewards. Homemade bread offers unparalleled freshness, allowing you to enjoy its warm aroma wafting through your home. Plus, you control every ingredient, ensuring that what you eat is wholesome and free from additives.
Not to mention, the satisfaction of pulling a golden, crusty loaf out of the oven is truly unmatched. Think about how it can elevate your meals, from a simple breakfast to an impressive dinner party. So why not grab that Dutch oven and give it a try? You might just find it becomes a staple in your culinary repertoire. For more tips on homemade baking, consider visiting King Arthur Baking for a treasure trove of resources!
PrintDutch Oven No Knead Crusty Bread: Easy Recipe for Beginners
Learn how to make delicious and crusty bread with minimal effort using a Dutch oven.
- Prep Time: 15 minutes
- Cook Time: 45 minutes
- Total Time: 18 hours
- Yield: 1 loaf 1x
- Category: Bread
- Method: Baking
- Cuisine: European
- Diet: Vegetarian
Ingredients
- 3 cups all-purpose flour
- 1 ½ cups water
- 1 teaspoon salt
- ½ teaspoon instant yeast
Instructions
- In a large bowl, mix the flour, salt, and yeast.
- Add water and stir until a shaggy dough forms.
- Cover with plastic wrap and let rise for 12-18 hours.
- Once risen, turn the dough onto a floured surface and shape it gently.
- Preheat the Dutch oven in the oven at 450°F.
- Carefully place the dough into the hot Dutch oven, cover, and bake for 30 minutes.
- Remove the lid and bake for an additional 15-20 minutes until golden brown.
- Let cool before slicing.
Notes
- For extra flavor, add herbs or spices to the dough.
- Experiment with different types of flour for unique textures.
Nutrition
- Serving Size: 1 slice
- Calories: 100
- Sugar: 0g
- Sodium: 200mg
- Fat: 1g
- Saturated Fat: 0g
- Unsaturated Fat: 0g
- Trans Fat: 0g
- Carbohydrates: 20g
- Fiber: 1g
- Protein: 3g
- Cholesterol: 0mg
Keywords: Dutch Oven No Knead Crusty Bread