Introduction to the Best Homemade Red Velvet Brownies
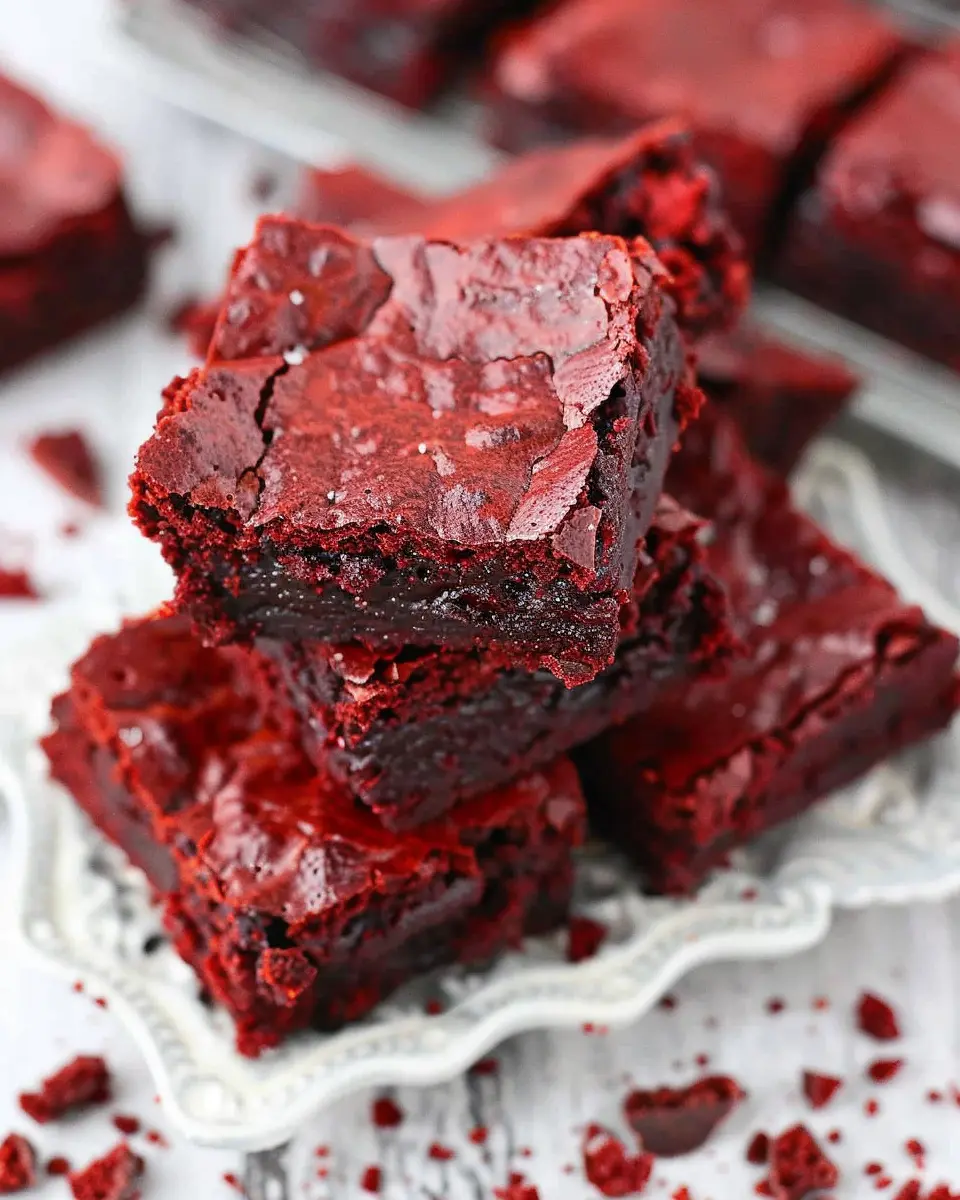
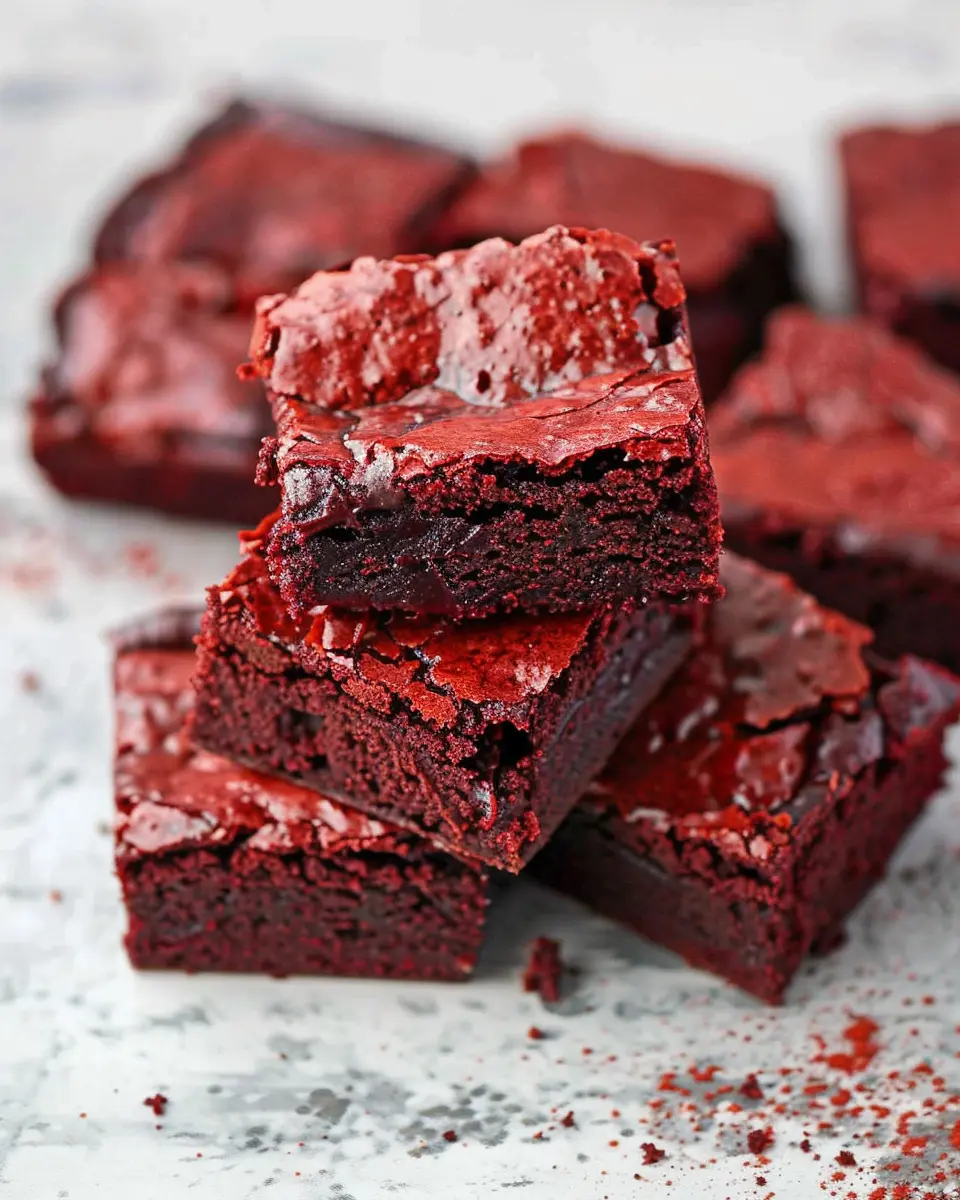
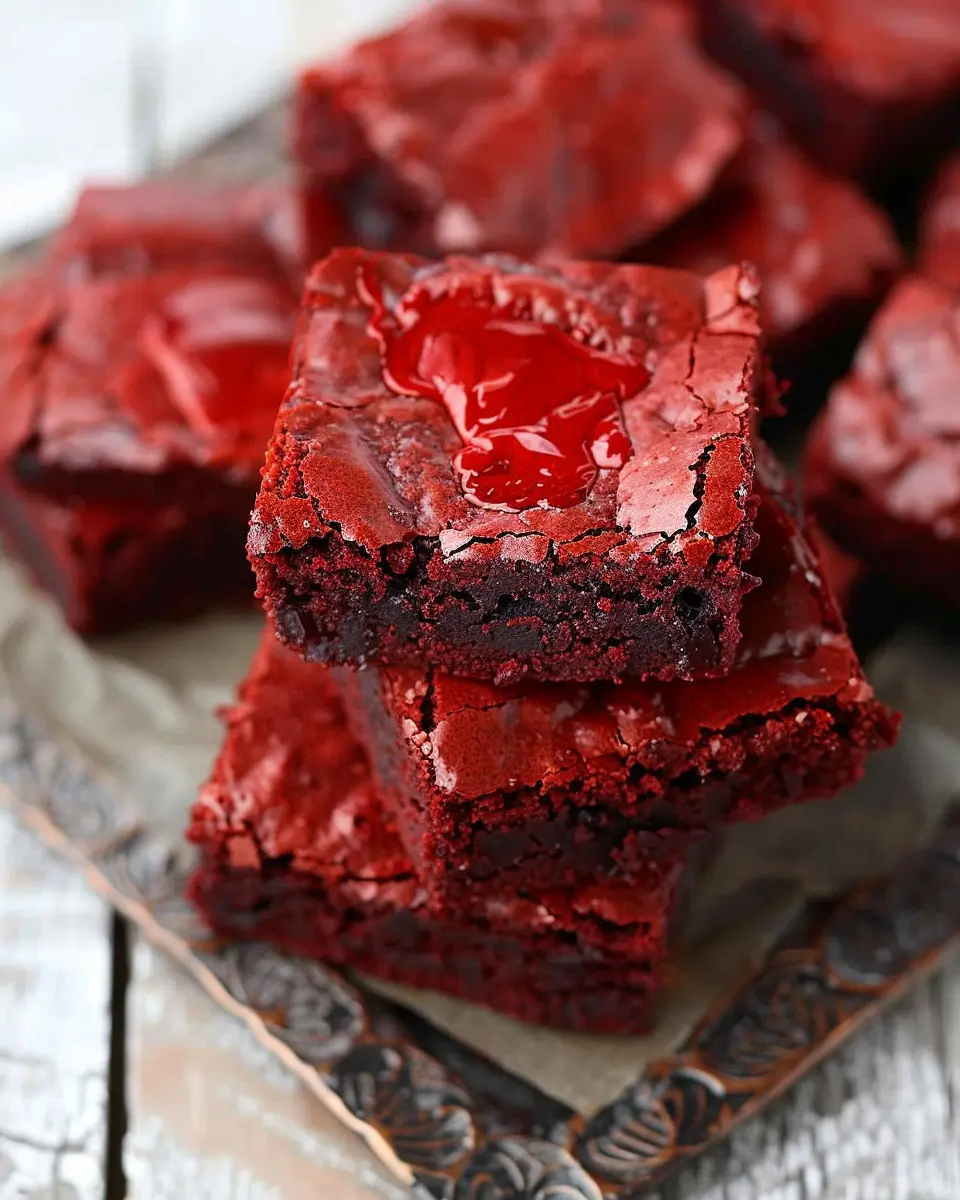
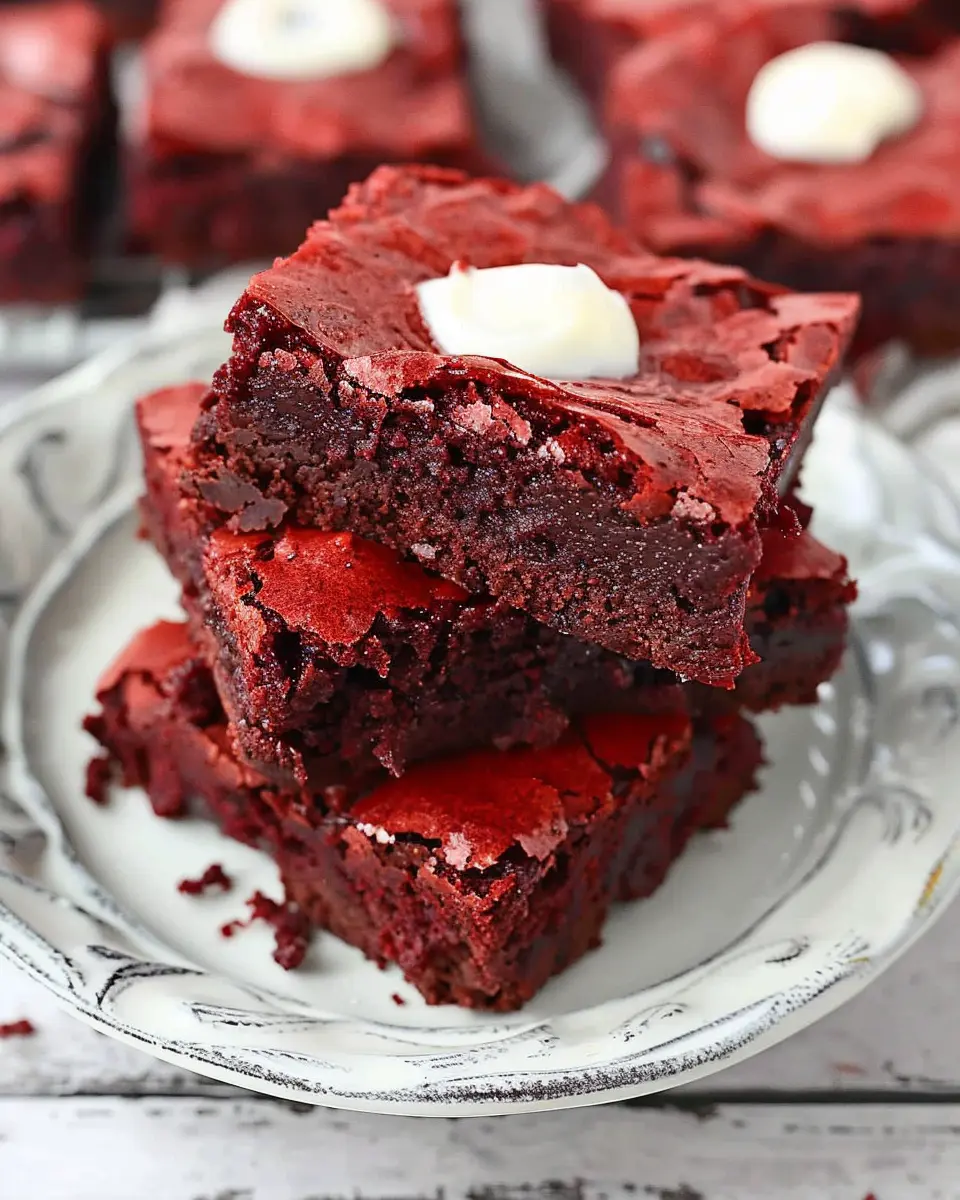
If you’ve ever found yourself torn between a rich brownie and a slice of velvety red velvet cake, let me introduce you to the delightful world of best homemade red velvet brownies. These treats combine the thick, fudgy goodness of brownies with the signature deep red color and cream cheese frosting characteristic of red velvet cake. Imagine sinking your teeth into that perfect blend—it’s simply irresistible!
But why should you opt for red velvet brownies over more traditional desserts? Well, for one, their eye-catching color makes them a standout dessert at any gathering, sparking curiosity and excitement among your friends. “What’s in those beautiful brownies?” they’ll ask, and you can proudly share your secret recipe. Plus, the subtle hint of cocoa and smooth vanilla undertones makes them an ideal treat, whether you’re celebrating a special occasion or simply indulging after a long week.
Homemade desserts tend to bring a sense of warmth and nostalgia. As a personal favorite, these brownies remind me of cozy gatherings with family, where dessert was the highlight of our meals. The vibrant hue definitely brings a smile to everyone’s face, creating a shared moment of joy. According to a study from Science Direct, the color of our food can enhance our perception of its taste—so when you serve these red velvet brownies, get ready for compliments!
Now, let’s chat about texture. You want your brownies to be rich and fudgy, not cake-like. By following a few simple steps and selecting the right ingredients, you can achieve that dreamy consistency that keeps everyone coming back for seconds (and thirds!). Not to mention, there’s nothing quite like the aroma of baking brownies wafting through your home—it’s comfort food at its finest.
So, grab your apron, and let’s dive into the sweetness of making the best homemade red velvet brownies. Trust me; they’ll soon become your go-to dessert recipe.
Ingredients for Best Homemade Red Velvet Brownies
To whip up the best homemade red velvet brownies, you’ll need to gather a few essential ingredients. Here’s a straightforward breakdown to help you get started.
Essential Ingredients for Brownies
- All-purpose flour: This forms the base and gives structure to your brownies.
- Granulated sugar: Sweetens your recipe and helps create that fudgy texture.
- Unsweetened cocoa powder: Adds depth and rich chocolate flavor; don’t skip this!
- Baking powder and baking soda: These leaveners ensure your brownies have the perfect rise.
- Salt: A pinch enhances all the flavors and balances the sweetness.
- Vegetable oil or melted butter: For that ultra-moist, tender crumb.
- Eggs: They bind everything together and provide richness.
- Red food coloring: The star ingredient that gives these brownies their signature hue!
Ingredients for Cream Cheese Frosting
- Cream cheese: The base for your frosting, offering tang and creamy goodness.
- Unsalted butter: Adds a smooth texture and rich flavor.
- Powdered sugar: Sweetens and thickens your frosting to the right consistency.
- Vanilla extract: A touch of this enhances the overall flavor profile.
With these ingredients on hand, you’re just steps away from the best homemade red velvet brownies you’ll ever taste! For more baking tips, check out The Spruce Eats or Baking Basics for inspiration!
Step-by-Step Preparation of Best Homemade Red Velvet Brownies
Making the best homemade red velvet brownies isn’t just about whipping up a delicious dessert—it’s a delightful experience that can turn an ordinary day into a sweet celebration. Let’s dive into each step of the process to ensure your brownies turn out perfectly every time.
Preheat and Prepare the Baking Pan
Before you start mixing ingredients, it’s crucial to set the stage. Preheat your oven to 350°F (175°C). As it warms up, grab an 8×8 inch baking pan and line it with parchment paper. This not only aids in easy removal post-baking but also ensures an even bake. A quick tip? Spraying a little non-stick baking spray on the pan before laying down the parchment can keep everything secure.
Melt the Chocolate and Butter
Here comes the best part! In a microwave-safe bowl, combine 4 ounces of semi-sweet chocolate (chopped) with 1/2 cup of unsalted butter. Heat in 30-second intervals, stirring in between, until everything is melted and smooth. The rich aroma is irresistible, and this step is crucial for that fudgy texture your brownies are known for. Remember to let this mixture cool slightly before using it—no one wants scrambled eggs in their brownies!
Mix the Wet Ingredients
Now, let’s introduce some flavor! In a large bowl, whisk together 1 cup of granulated sugar and 2 large eggs until combined. Add 1 teaspoon of vanilla extract and 1 tablespoon of red food coloring to the mix. The vibrant red will give your brownies that iconic hue. Slowly pour in the slightly cooled chocolate and butter mixture, stirring until everything is silky and smooth. It’s like a warm hug in a bowl!
Combine the Dry Ingredients
In a separate bowl, mix together 1 cup of all-purpose flour, 1/4 cup of unsweetened cocoa powder, and a pinch of salt. This may seem like a small step, but it’s essential for creating a balanced brownie that isn’t too dense or too light. Sifting these ingredients together can help eliminate any cocoa lumps and aerate the flour, but if you’re short on time, a simple whisk works just fine.
Batter It Up!
Now it’s time to bring everything together. Gradually fold the dry ingredients into the wet mixture until just combined. Overmixing can lead to tough brownies—nobody wants that! Aim for a few flour streaks remaining in the batter. Once you’ve achieved that perfect consistency, pour the batter into your prepared pan, spreading it evenly.
Bake to Perfection
Pop your brownies into the preheated oven and bake for approximately 25-30 minutes. The bake time can vary based on your oven, so keep an eye on them. When a toothpick inserted in the center comes out with a few moist crumbs, they’re done. Remember, your brownies will continue to cook slightly after being removed from the oven, so don’t be tempted to overbake!
Prepare the Cream Cheese Frosting
Once your brownies are cool, it’s time to take them to the next level with a luscious cream cheese frosting. In a medium bowl, beat together 4 ounces of softened cream cheese, 1/4 cup of unsalted butter, and 2 cups of powdered sugar until velvety smooth. A splash of vanilla adds a delightful hint of flavor! Spread this creamy goodness generously over your brownies for that extra wow factor.
Now you’ve crafted the best homemade red velvet brownies! These delightful squares are perfect for any occasion—whether it’s a potluck, a cozy night in, or just to treat yourself. Serve with a glass of milk or your favorite alternative for an ultimate indulgence. And don’t forget to share the love (and the recipe)!
Variations on Best Homemade Red Velvet Brownies
Red velvet brownies are a delightful twist on the classic dessert, and there are plenty of ways to mix things up! Let’s explore some fun variations that keep the essence of those best homemade red velvet brownies while catering to different dietary preferences and flavor combinations.
Red Velvet Brownies with Nut Add-ins
If you’re a fan of crunch in your desserts, consider adding some nuts to your red velvet brownies. Walnuts or pecans can add a lovely depth of flavor. Chopping them roughly and folding them into your batter will contrast beautifully with the rich, velvety texture. You might even indulge by topping your brownies with a sprinkling of sea salt and crushed nuts before baking for an irresistible sweet-salty combo.
Gluten-Free Red Velvet Brownies
For those on a gluten-free diet, making your best homemade red velvet brownies can be seamless and delicious! Substitute regular flour with a blend of gluten-free all-purpose flour and almond flour. This combination not only maintains the brownie’s moisture but also brings an added richness. Ensure you use gluten-free cocoa powder and check labels for any hidden gluten in your ingredients. You can explore brands like Bob’s Red Mill for reliable gluten-free products.
Vegan Red Velvet Brownies
Craving a plant-based version? No problem! You can whip up vegan red velvet brownies by replacing eggs with flaxseed meal or applesauce for the moisture. Use coconut oil or a vegan butter alternative instead of regular butter. Sweetening with maple syrup can add a unique flavor twist, making these brownies not just for vegans but appealing to everyone.
For those wanting to dive deeper into baking vegan or gluten-free goodies, websites like Minimalist Baker offer fantastic recipes and resources. Why not try out a few variations that cater to your taste buds? Every bite can be a delightful surprise!
Baking Tips and Notes for Best Homemade Red Velvet Brownies
Achieving the Perfect Texture
To create the best homemade red velvet brownies, strive for that deliciously fudgy texture. Use room temperature ingredients—this means letting your butter and eggs sit out for a while. Mixing should be done just until incorporated; overmixing can lead to a cake-like consistency, which we definitely want to avoid. A handy tip? Add a pinch of espresso powder to amplify the chocolate flavor without making them taste like coffee.
Avoiding Common Mistakes
We’ve all been there—checking the oven too often or accidentally not measuring ingredients correctly. Here are some classic blunders to sidestep:
- Underbaking or overbaking: Rely on a toothpick—just a few moist crumbs should cling when you pull it out.
- Ignoring cool time: Allow the brownies to cool fully in the pan before slicing. You’ll get cleaner edges and an irresistible red hue.
For a deeper dive into baking techniques, check out King Arthur Baking for reliable tips and tricks. Happy baking!
Serving Suggestions for Best Homemade Red Velvet Brownies
Pairing with Ice Cream
One of the absolute best ways to enjoy your homemade red velvet brownies is by pairing them with a scoop of creamy vanilla or classic chocolate ice cream. The combination of warm, fudgy brownies with cold ice cream creates a delightful contrast that your taste buds will love. Consider adding a drizzle of cream cheese frosting or a sprinkle of crushed nuts on top for an elevated experience. You can even try serving them à la mode in a cute dessert bowl for a fun twist on a classic treat!
Creative Presentation Ideas
Presentation is key, especially when you want to impress your friends or make a cozy night in feel special. Cut your best homemade red velvet brownies into fun shapes using cookie cutters or serve them in charming cupcake liners. Think about dusting the top with powdered sugar or placing a fresh mint leaf for a pop of color. You could also create a dessert charcuterie board with your brownies, fruit, and even cookie dough bites for a fun sharing experience.
For more inspiring ideas, check out this guide to dessert presentation tips. Whether it’s a casual get-together or a fancy dinner, your brownies will shine!
Time Breakdown for Best Homemade Red Velvet Brownies
Planning to whip up the best homemade red velvet brownies? Knowing how long each step takes can help you get it just right.
Preparation Time
To start on this delicious journey, set aside about 15-20 minutes for preparation. This includes gathering your ingredients, mixing the batter, and getting your baking pan ready.
Baking Time
Next, the magic happens in the oven! Allow around 25-30 minutes for baking. Be sure to check your brownies with a toothpick to ensure they’re perfectly gooey.
Total Time
In total, expect to invest approximately 45-50 minutes from start to finish. So, whether you’re serving them at a get-together or enjoying them solo, you won’t wait long for that sweet indulgence!
For more tips on baking, check out resources like King Arthur Baking for expert advice.
Nutritional Facts for Best Homemade Red Velvet Brownies
When indulging in the best homemade red velvet brownies, it’s good to know what you’re treating yourself to. Here’s a quick overview of their nutritional profile:
Calories
Each brownie contains approximately 150–200 calories, depending on portion size and ingredients used. Knowing this can help you enjoy them without the guilt!
Sugar Content
With about 12–15 grams of sugar per brownie, it’s important to savor these delights moderation. If you’re looking to cut sugar, consider using natural sweeteners like honey or maple syrup.
Protein and Fat
These brownies provide around 2–3 grams of protein along with about 7 grams of fat, making them a rich, satisfying treat. Choosing healthier fats, like those found in nuts, can enhance their nutritional value.
For a deeper dive into dietary choices, you might find the USDA’s FoodData Central helpful for understanding ingredients better. Enjoy your baking adventure!
FAQs about Best Homemade Red Velvet Brownies
When it comes to making the best homemade red velvet brownies, you might have a few burning questions. Let’s dig into some frequently asked questions to help you achieve brownie perfection.
Can I add chocolate chips?
Absolutely! Adding chocolate chips to your best homemade red velvet brownies can elevate their flavor and texture. Semi-sweet or dark chocolate chips work great, bringing a rich, chocolaty contrast to the tangy red velvet base. Just fold in about a cup of chocolate chips after mixing your batter for that extra indulgence.
How do I store leftovers?
If you’re lucky enough to have leftovers (or if you made a double batch), storing your brownies properly is crucial. Place them in an airtight container at room temperature for up to 3 days. For longer storage, consider wrapping them tightly in plastic wrap and placing them in the refrigerator for up to a week. You can also freeze individual brownies for up to three months. Just be sure to let them thaw before enjoying for optimal taste and texture!
What’s the best way to cut brownies?
Cutting brownies may seem simple, but a clean slice makes all the difference. To achieve perfectly cut best homemade red velvet brownies, use a sharp knife dipped in warm water. Make a single cut down through the brownie—no sawing! Wipe the knife clean between cuts to keep the edges neat. Trust me, your presentation will thank you!
For more tips on slicing and storing, feel free to check out sources like Serious Eats for expert advice. Happy baking!
Conclusion on Best Homemade Red Velvet Brownies
Final Thoughts and Encouragement to Try
As we’ve uncovered, creating the best homemade red velvet brownies is not just about following a recipe—it’s about indulging in a delightful experience. The rich flavor and eye-catching color bring a sense of joy that can brighten anyone’s day. Whether you’re planning a cozy evening in or hosting friends for a gathering, these brownies are sure to impress.
Don’t hesitate to put your own twist on the recipe—maybe swap in some chocolate chips or top them with a cream cheese frosting drizzle. The excitement of experimenting will make the result even sweeter. So, roll up your sleeves and dive into this joyful baking adventure! For more inspiration, check out this creative baking blog for tips and tricks.
PrintBest Homemade Red Velvet Brownies for Indulgent Softness
Indulge in the soft and rich flavors of our Best Homemade Red Velvet Brownies, perfect for any occasion.
- Prep Time: 15 minutes
- Cook Time: 25 minutes
- Total Time: 40 minutes
- Yield: 16 brownies 1x
- Category: Dessert
- Method: Baking
- Cuisine: American
- Diet: Vegetarian
Ingredients
- 1 cup all-purpose flour
- 1/2 cup unsweetened cocoa powder
- 1 cup granulated sugar
- 1/2 cup unsalted butter, melted
- 2 large eggs
- 1 teaspoon vanilla extract
- 1 tablespoon red food coloring
- 1/2 teaspoon baking powder
- 1/4 teaspoon salt
Instructions
- Preheat the oven to 350°F (175°C) and grease a baking dish.
- In a bowl, mix together the melted butter and sugar until combined.
- Add the eggs, vanilla extract, and red food coloring, mixing well.
- In a separate bowl, whisk the flour, cocoa powder, baking powder, and salt together.
- Gradually combine the dry ingredients with the wet ingredients, stirring until just mixed.
- Pour the batter into the prepared baking dish and smooth the top.
- Bake for 20-25 minutes or until a toothpick comes out clean.
- Allow to cool before slicing into squares.
Notes
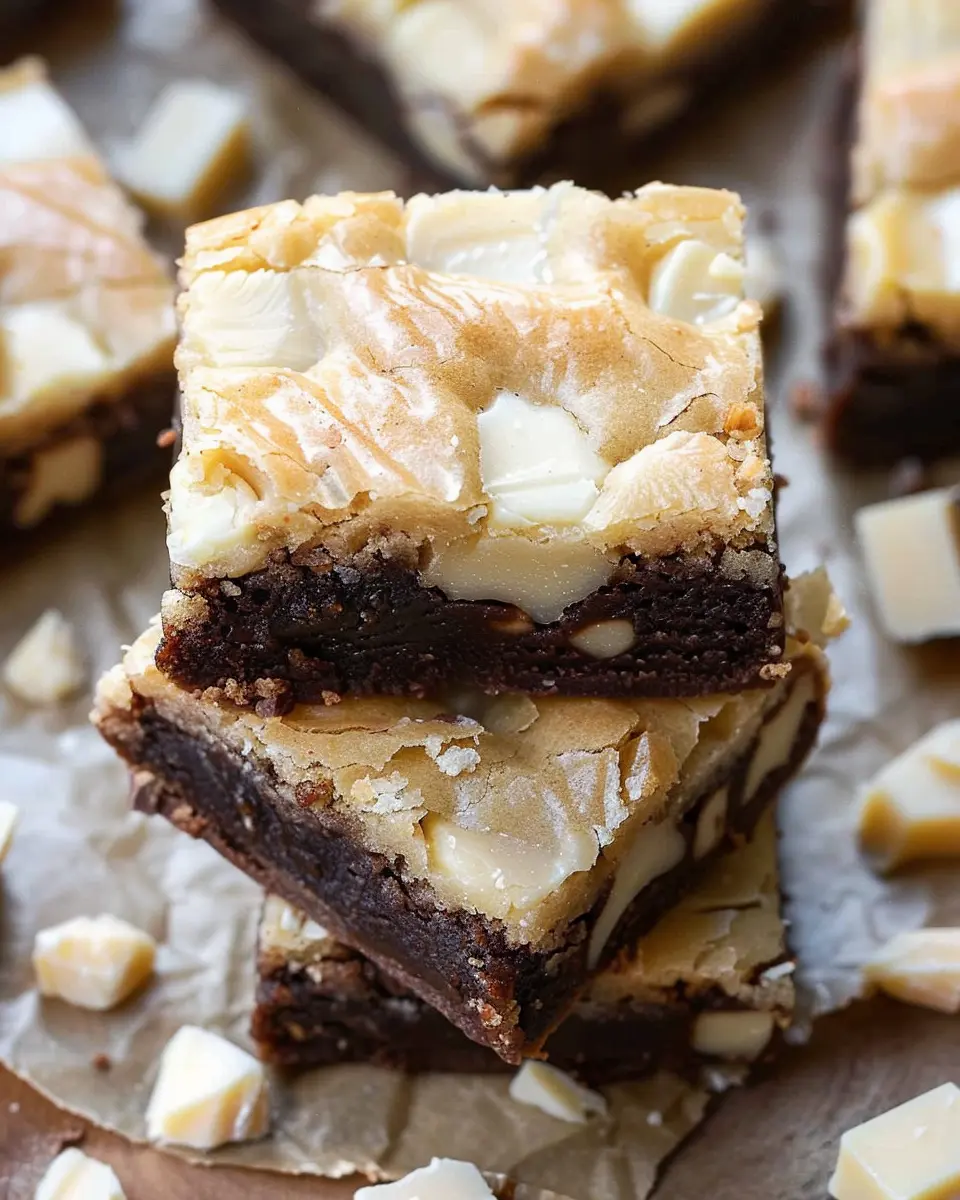
- For a richer flavor, you can add white chocolate chips or nuts to the batter.
- Serve with a scoop of vanilla ice cream for an extra treat!
Nutrition
- Serving Size: 1 brownie
- Calories: 250
- Sugar: 18g
- Sodium: 120mg
- Fat: 12g
- Saturated Fat: 7g
- Unsaturated Fat: 4g
- Trans Fat: 0g
- Carbohydrates: 30g
- Fiber: 1g
- Protein: 3g
- Cholesterol: 62mg
Keywords: Red Velvet, Brownies, Homemade, Dessert