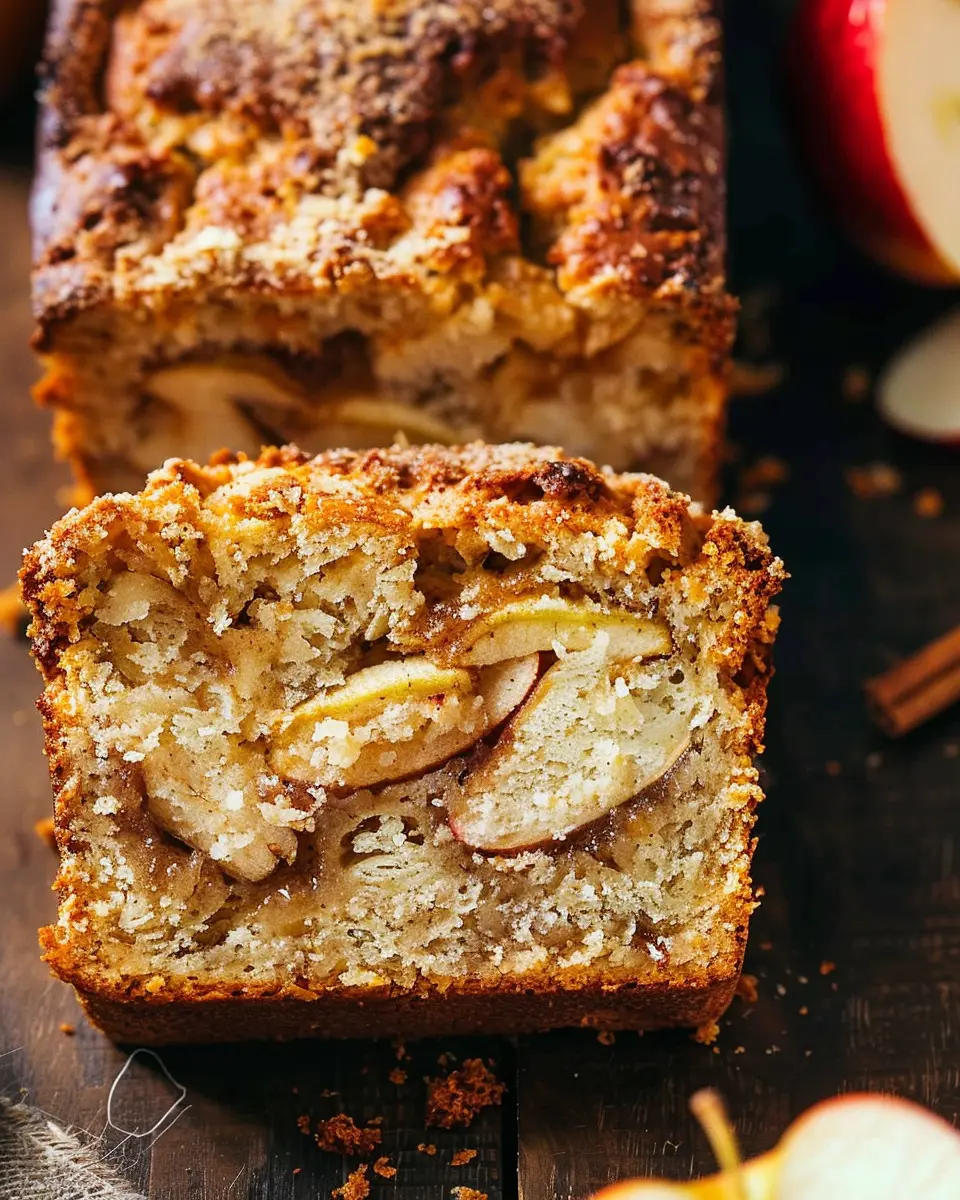
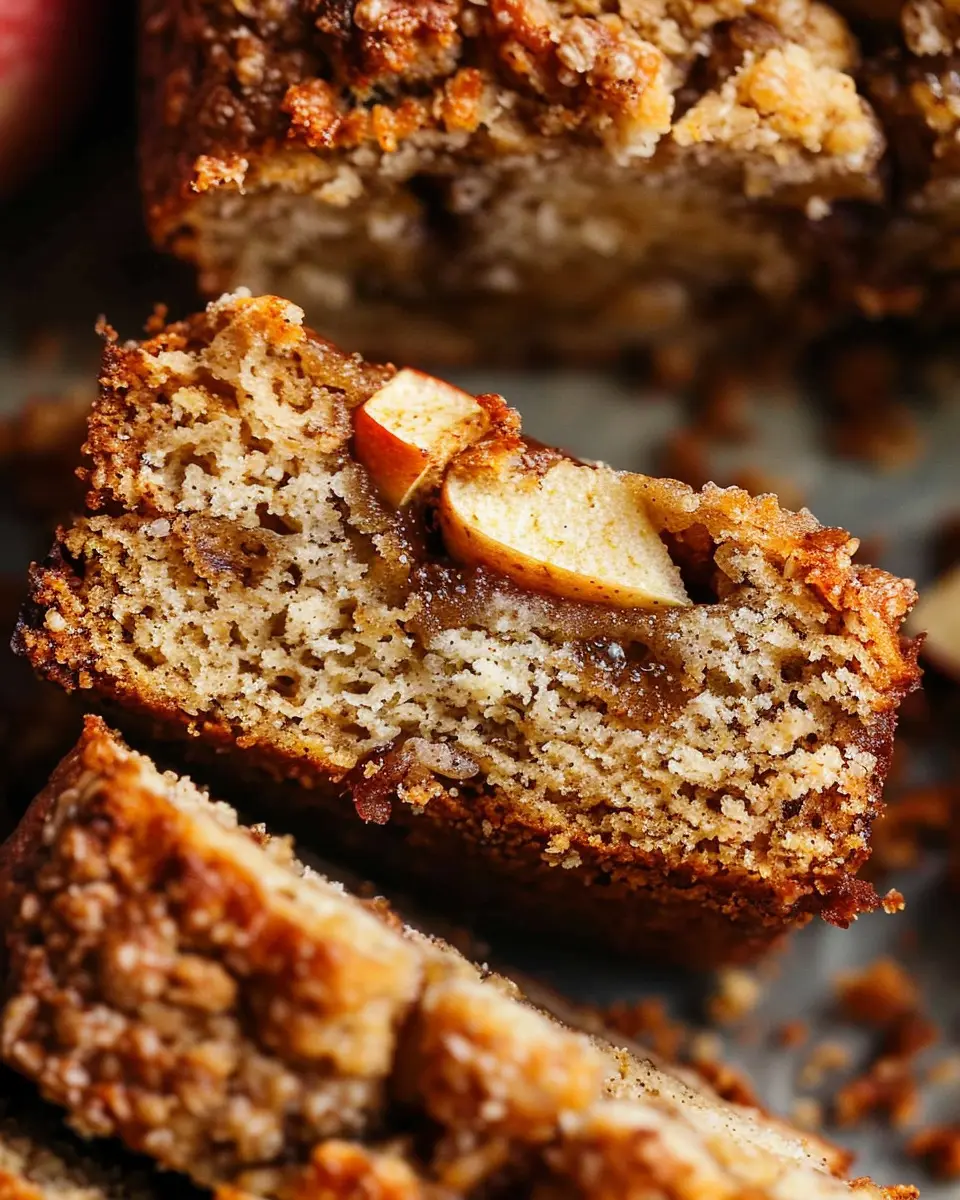
Introduction to Apple Bread
When it comes to baking, nothing quite matches the warmth and comfort of homemade treats. Apple Bread is a delightful fusion of sweet and savory, making it a favorite for many. Not only is this loaf easy to prepare, but it also fills your kitchen with an irresistible aroma that can brighten your day. If you’re a young professional juggling a busy lifestyle, you’ll find that this recipe not only satisfies your taste buds but also provides a quick, wholesome snack for those long workdays.
Why Apple Bread is a Must-Try for Young Professionals
Let’s face it—life can get hectic. Between deadlines, meetings, and social engagements, finding time to cook can be a challenge. That’s where apple bread comes in as a reliable ally in your kitchen. Here are a few reasons why you should add this recipe to your repertoire:
-
Quick and Easy: With simply a few ingredients, you can have this delicious loaf ready in under an hour. Whether you’re making it for breakfast or an afternoon snack, Apple Bread fits seamlessly into your busy life.
-
Nutritional Boost: Made with fresh apples, this bread packs a healthy punch. Apples are rich in fiber and antioxidants, which can help you feel fuller for longer and support your overall health—crucial for staying energized throughout your day.
-
Versatile Enjoyment: Enjoy it on its own, with a smear of butter, or topped with turkey bacon and fresh avocado for a savory twist. You can even slice it and freeze leftovers for future cravings.
-
Perfect for Sharing: Bring it to a potluck, share with colleagues during a lunch break, or enjoy it as a dessert with friends. Food is about connection—Apple Bread is perfect for sparking conversations and spreading joy.
By incorporating this delicious recipe into your cooking rotation, you not only treat yourself but also whip up something special that you can share with others. Need more inspiration? Be sure to check out resources like The Kitchn and Serious Eats for more ways to enjoy apples in your culinary adventures.
So, grab those apples and get ready to indulge in the charm of Apple Bread; it might just become your go-to recipe!
Ingredients for Apple Bread
Essential ingredients for a delicious loaf
To whip up a mouthwatering Apple Bread, you’ll need some basic ingredients that blend perfectly together. Here’s what you should gather:
- Apples: About two cups of peeled and chopped apples is essential. Granny Smith or Honeycrisp are great choices for their balance of sweetness and tartness.
- Flour: All-purpose flour gives your bread the perfect texture.
- Sugar: Both brown and granulated sugars add depth and rich flavor.
- Baking powder and baking soda: These create that delightful rise!
- Cinnamon: A must-have for that warm spice aroma.
- Eggs: They help bind everything together and contribute to moisture.
- Oil or melted butter: Offers richness and helps create a tender loaf.
- Salt: A pinch of salt elevates all the other flavors.
Optional toppings and variations
Want to take your Apple Bread to another level? Consider these tasty additions:
- Nuts: Walnuts or pecans give a nice crunch.
- Dried fruit: Raisins or cranberries add a fruity twist.
- Frosting: A simple glaze or cream cheese frosting can make your bread feel extra special.
- Spices: Try adding nutmeg or ginger for an interesting flavor twist.
By mixing and matching these ingredients, you can create a loaf that’s uniquely yours! Want more tips? Check out this resource for variations and recipes!
Step-by-Step Preparation of Apple Bread
Making Apple Bread is a delightful way to fill your kitchen with warm, inviting aromas. This step-by-step guide will walk you through creating your very own loaf, packed with delicious apple goodness. So let’s roll up our sleeves and get started!
Preheat and Prepare the Loaf Pan
Before diving into the mixing bowl, preheat your oven to 350°F (175°C). A hot oven is crucial for achieving that perfect rise and golden crust. While the oven warms up, grab a standard loaf pan and lightly grease it with butter or cooking spray. This step is essential to ensure your Apple Bread slides out easily once baked. If you’re feeling fancy, a sprinkle of flour can also help create a non-stick surface.
Microwave the Apples
Now, let’s prep those apples! Chop your choice of tart apples into small cubes—think Granny Smith or Honeycrisp for the best contrast of flavors. Place the diced apples in a microwave-safe bowl and sprinkle a teaspoon of sugar over them. Cover the bowl (a plate works well) and microwave the apples for about 2-3 minutes, until they are slightly tender. This quick method helps release their moisture, which makes for a moist Apple Bread.
Mix the Milk and Vinegar
While your apples are softening, mix 1 cup of milk with 1 tablespoon of vinegar. This flavorful duo acts like buttermilk and adds a beautiful tang that complements the sweetness of the apples perfectly. Set this aside for a few minutes, and you’ll see it thicken slightly, transforming into a creamy base for your batter.
Combine the Dry Ingredients
In a large mixing bowl, whisk together the dry ingredients that will fortify your Apple Bread. You’ll need:
- 2 cups all-purpose flour
- 1 cup sugar (adjust to your sweetness preference)
- 1 tablespoon baking powder
- 1/2 teaspoon baking soda
- 1/2 teaspoon salt
- 1 teaspoon ground cinnamon (the star of the show!)
By sifting these ingredients together, you’ll ensure a light and airy bread, so don’t skip this step.
Make the Batter
Once your dry mixture is ready, it’s time to bring it all together! In a separate bowl, mix the milk-vinegar combo with 1/2 cup of melted butter (or you can use a healthier option like coconut oil). Add in 2 beaten eggs and mix until combined. Gradually fold this wet mixture into the dry ingredients, taking care not to overmix. A few lumps are perfectly fine!
Fold in the Apples
Now comes the exciting part—introducing your softened apples into the batter! Gently fold the apple chunks into your mixture. Aim for an even distribution, so every slice of your Apple Bread is bursting with apple goodness.
Bake the Apple Bread
Pour your batter into the prepared loaf pan, smoothing the top with a spatula. Pop it in your preheated oven and let the magic happen! Bake it for 50-60 minutes, or until a toothpick inserted in the center comes out clean. Remember to check it a little earlier if your oven runs hot!
Cooling and Slicing
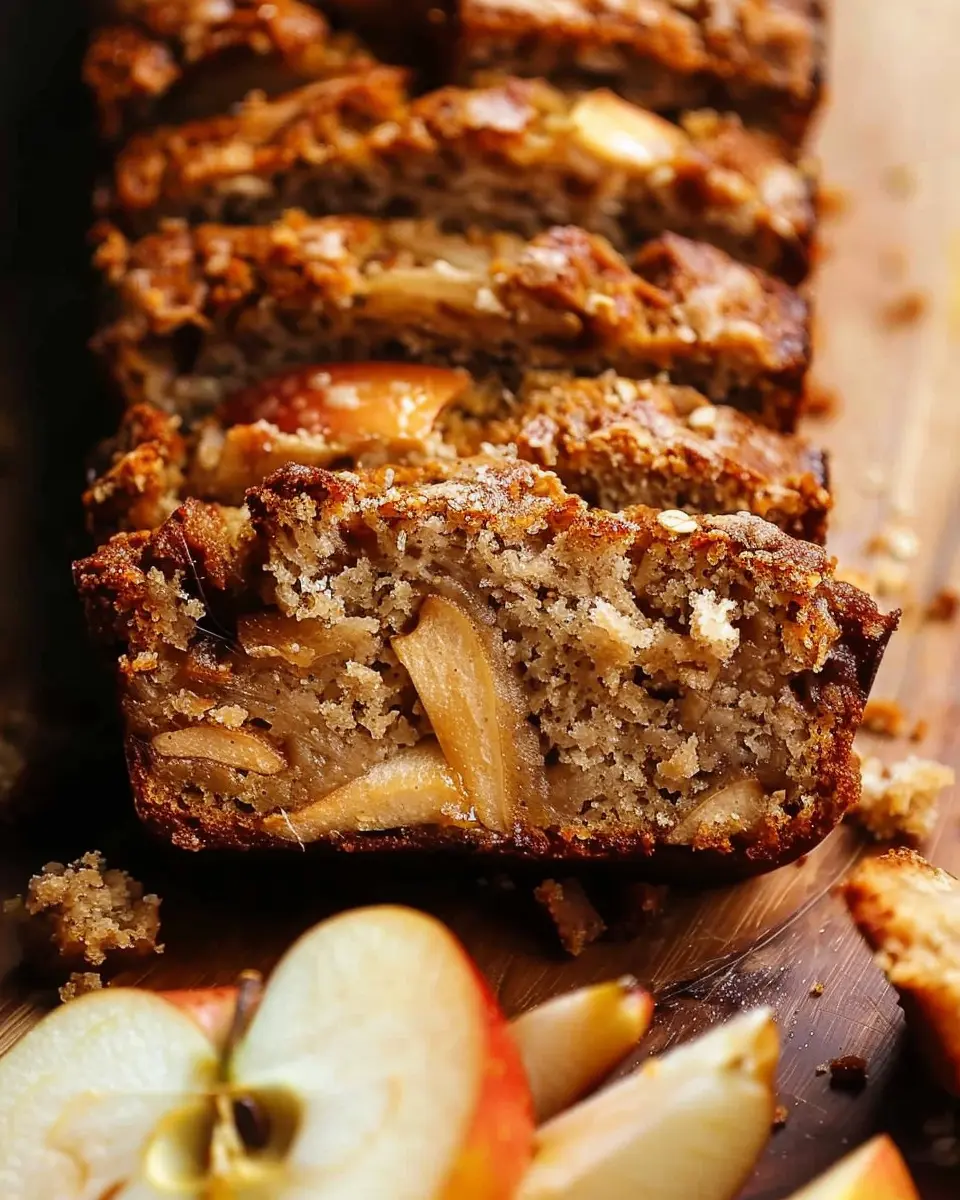
Once your Apple Bread is beautifully golden and fragrant, take it out of the oven and let it cool in the pan for about 10 minutes. This step makes it easier to remove without breaking. After that, transfer it to a wire rack to cool completely.
Slicing into your Apple Bread is the final reward, and don’t forget—this loaf is excellent warm with a pat of butter. You might even want to experiment with toppings like nuts or a drizzle of caramel sauce.
Feeling inspired? For more baking tips, check out resources on food science or explore unique flavor combinations on sites like Serious Eats. Happy baking!
Variations on Apple Bread
Apple bread is a delightful treat that offers endless possibilities for customization. Whether you prefer added textures or have dietary needs, there’s a variation for everyone.
Apple Nut Bread for Added Crunch
Imagine biting into a slice of apple bread infused with crunchy, savory nuts. Adding walnuts or pecans not only enhances the flavor but also contributes a satisfying texture. Here’s how to do it:
- Choose Your Nuts: Walnuts add a rich, earthy taste, while pecans bring a buttery flavor. You might even consider trying hazelnuts for a unique twist.
- Measure Wisely: About 1 cup of chopped nuts should do the trick. Mix them into the batter just before pouring it into your loaf pan, ensuring an even distribution.
- Toast for More Flavor: For an extra dimension, try toasting the nuts lightly in a skillet before adding them to your apple bread. This step enhances their flavor and crunchiness!
This variation is a hit at cozy gatherings or as a breakfast treat. Pair your nutty apple bread with a steaming cup of coffee or a refreshing herbal tea for the perfect complement.
Gluten-Free Apple Bread for Dietary Needs
For those following a gluten-free lifestyle, you can still indulge in the joys of apple bread. By using gluten-free flour blends, you can create a moist, delicious loaf that everyone will enjoy:
- Choosing Flour: Opt for a high-quality gluten-free all-purpose flour. Many blends come fortified with xantham gum, which adds the necessary elasticity without sacrificing texture.
- Adjusting Liquid: Sometimes, gluten-free flours require a bit more moisture. Consider adding an extra tablespoon of applesauce or coconut oil to keep your bread moist and delectable.
Many recipes exist to help you make this low-FODMAP friendly – check out sites like My Gluten-Free Kitchen for plenty of ideas and variations.
So, whether you’re enhancing your apple bread with nuts or need a gluten-free option, it’s all about personalizing this beloved recipe to suit your tastes and dietary preferences!
Cooking Tips and Notes for Apple Bread
Best Practices for Baking Success
Creating the perfect Apple Bread takes a bit of love and attention to detail. Here are some best practices to ensure your bread comes out moist and flavorful:
- Choose Fresh Apples: Opt for firm, tart varieties like Granny Smith or Honeycrisp for the best balance of sweetness and acidity.
- Room Temperature Ingredients: Ensure your eggs and dairy are at room temperature. This helps with even mixing and baking.
- Don’t Overmix: Gently combine the wet and dry ingredients. Overmixing can lead to a dense loaf.
Troubleshooting Common Baking Issues
If your Apple Bread doesn’t turn out quite as expected, don’t fret! Here are some common issues and fixes:
- Bread Too Dense: This could indicate overmixing or too much liquid. Consider reducing the apple puree slightly.
- Too Sweet: Try using less sugar, especially if your apples are particularly sweet.
- Uneven Baking: Make sure your oven is calibrated correctly. Use a thermometer to ensure the temperature is accurate.
For additional information on baking success, check out resources like King Arthur Baking and The Spruce Eats. Happy baking!
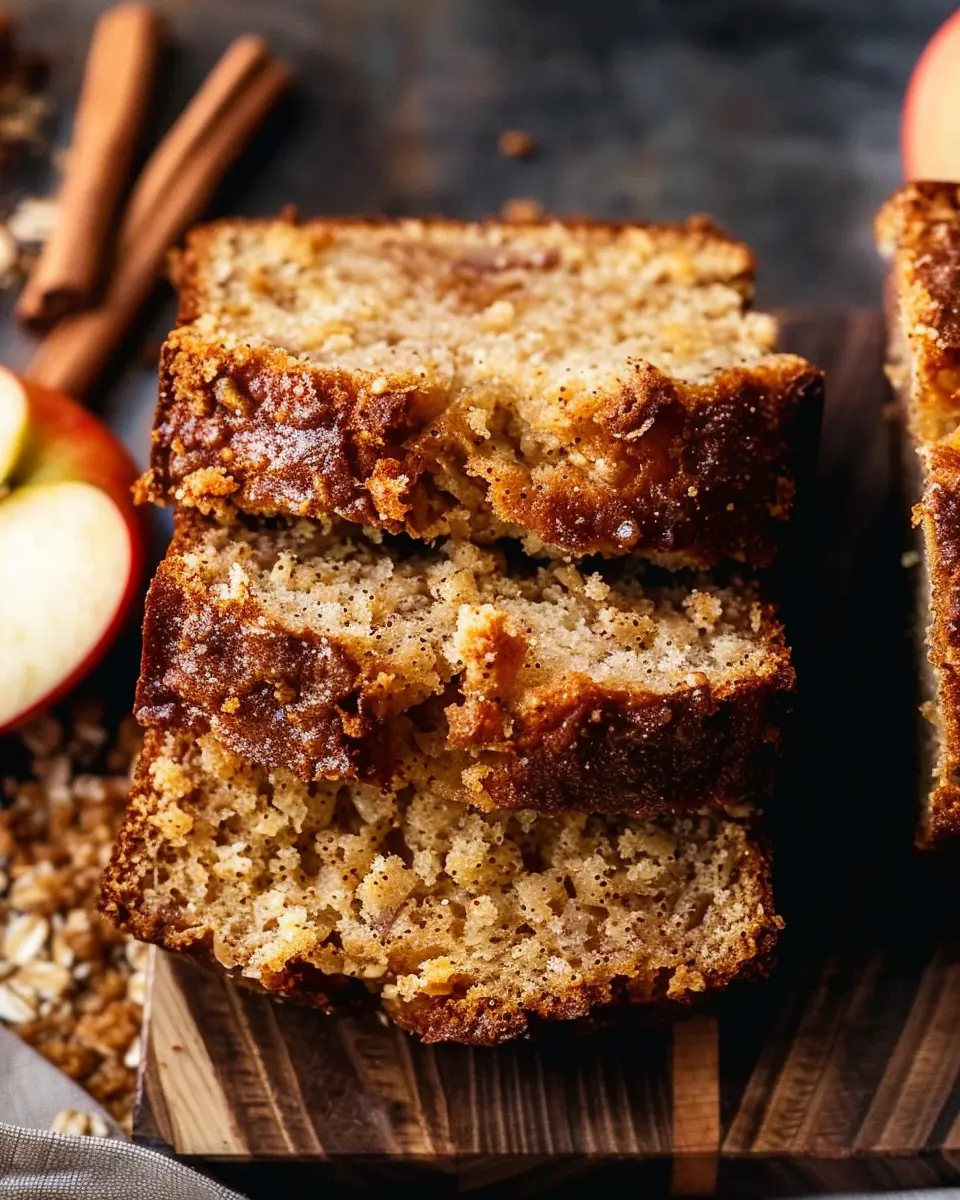
Serving Suggestions for Apple Bread
Perfect pairings for a cozy meal
When you’re enjoying a slice of Apple Bread, think about enhancing the experience with delightful pairings. This bread complements a variety of dishes, making it perfect for a cozy meal:
- Soft Cheese: Creamy brie or tangy goat cheese balances the sweetness of your Apple Bread beautifully.
- Turkey Bacon: Crispy turkey bacon on the side adds a savory element, creating a wonderful contrast.
- Chicken Ham: Try this with some fresh fruit for a light brunch option that will leave you satisfied.
For a warm beverage, consider a steaming cup of black coffee or a lightly spiced herbal tea. The warmth of these drinks will make your meal even cozier.
Creative ways to serve Apple Bread
Serving Apple Bread can go beyond the traditional slice-off-the-loaf method. Here are some fun ideas to spice things up:
- French Toast Style: Soak slices in an egg custard and grill them for a decadent breakfast.
- Top with Nut Butter: Spread almond or peanut butter on warm slices for a protein-packed snack.
- Dessert Twist: Serve with vanilla ice cream and a drizzle of caramel sauce for a simple yet indulgent dessert.
These ideas will not only make your Apple Bread shine but also give you a chance to impress your friends! For some more serving inspiration, check out this handy guide on creative bread pairings. Well, are you ready to elevate your Apple Bread experience?
Time Breakdown for Making Apple Bread
Preparation Time
Getting your kitchen ready for this delightful Apple Bread can take about 15-20 minutes. You’ll want to chop your apples, mix the dry ingredients, and gather the wet ones. It’s a perfect opportunity to enjoy some soothing music or even catch up on your favorite podcast!
Baking Time
The baking process will take approximately 50-60 minutes. Make sure to check on it periodically; the aroma will definitely lure you in! You’ll know it’s done when a toothpick inserted in the center comes out clean.
Total Time
All in all, expect to spend around 1 hour and 15 minutes from start to finish. Not too bad for a homemade treat that’s sure to impress friends and family!
For more fantastic apple recipes, check out resources like BBC Good Food or Serious Eats for ideas on how to explore other ways to use this versatile fruit.
Nutritional Facts for Apple Bread
Calories and dietary components
When enjoying a slice of Apple Bread, you can expect approximately 150-200 calories per serving, depending on your recipe variations. This delightful loaf typically includes wholesome ingredients like:
- Whole wheat flour for added fiber
- Apples, rich in vitamins A and C
- Nuts, offering healthy fats and protein
Keep an eye on added sugars and fats, as they can elevate the calorie count. Aiming for lower sugar alternatives can give you a guilt-free treat that fits into your balanced diet.
Health benefits of apples in your diet
Incorporating apples into your Apple Bread not only enhances flavor but also provides impressive health benefits. Apples are packed with fiber, which supports digestive health and helps maintain a healthy weight. They’re also rich in antioxidants, known for their potential to reduce the risk of chronic diseases such as heart disease and diabetes.
One medium apple contains about 4 grams of dietary fiber and only about 95 calories, making them a smart snack choice. Curious about how fiber affects your overall health? Check out the Harvard T.H. Chan School of Public Health for more insights!
Next time you enjoy Apple Bread, you can savor not just the taste but the incredible nutrients packed within!
FAQs about Apple Bread
How can I tell when my Apple Bread is done?
Determining when your Apple Bread is done can be tricky, but there are a few reliable methods to ensure perfection. The most effective way is the classic toothpick test: insert a toothpick into the center of the loaf; if it comes out clean or with just a few moist crumbs, your bread is ready. Additionally, you can look for a golden-brown crust. If you notice the top starting to crack and brown, that’s a good sign you’re very close! Remember, every oven is a little different, so start checking at the lower end of your baking time.
Can I freeze Apple Bread for later?
Absolutely! Freezing your Apple Bread is a fantastic way to enjoy it later. To freeze, let the bread cool completely, then wrap it tightly in plastic wrap and aluminum foil or place it in an airtight freezer bag. It can last in the freezer for up to three months. When you’re ready to enjoy a slice, simply thaw it at room temperature or pop it in the microwave for a quick warm-up. This way, you’ll have a tasty treat ready to go whenever the craving strikes!
What are some good variations on Apple Bread?
If you’re looking to switch things up with your Apple Bread, you’re in for a treat! Here are some delightful variations:
- Add nuts: Fold in walnuts or pecans for a satisfying crunch.
- Spice it up: Incorporate cinnamon, nutmeg, or even cardamom for a warming flavor boost.
- Dried fruits: Mix in raisins or cranberries for an extra layer of sweetness and texture.
- Frost it: Try a simple cream cheese frosting drizzled on top for a decadent finish.
With these ideas, you can tailor your recipe to your taste, making every loaf a unique experience! For more creative baking ideas, check out resources like King Arthur Baking or Food Network. Enjoy experimenting!
Conclusion on Apple Bread
Why you should make this recipe today
Apple Bread is not just a recipe; it’s a delightful experience waiting to happen in your kitchen. Imagine the warm, inviting aroma of freshly baked bread filled with juicy apples and spices wafting through your home. This recipe is perfect for any occasion, be it a cozy morning breakfast or a sweet afternoon snack.
By baking this Apple Bread today, you’re not only indulging in a delicious treat but also creating lasting memories with family and friends. Plus, it’s straightforward and quick to whip up, even for those busy weekdays. Don’t miss out; treat yourself to the comforting flavors of homemade goodness!
For tips on choosing the best apples, check out this resource from the U.S. Apple Association. Happy baking!
PrintApple Bread: Easy Recipe for a Cozy Homemade Delight
Enjoy the warmth and comfort of homemade apple bread with this easy recipe.
- Prep Time: 15 minutes
- Cook Time: 60 minutes
- Total Time: 1 hour 15 minutes
- Yield: 1 loaf 1x
- Category: Bread
- Method: Baking
- Cuisine: American
Ingredients
- 2 cups all-purpose flour
- 1 cup sugar
- 1 teaspoon baking soda
- 1/2 teaspoon salt
- 1 teaspoon ground cinnamon
- 1/2 cup vegetable oil
- 2 large eggs
- 2 cups peeled and diced apples
Instructions
- Preheat your oven to 350°F (175°C).
- In a large bowl, mix flour, sugar, baking soda, salt, and cinnamon.
- In another bowl, whisk together oil and eggs.
- Combine the wet ingredients with the dry ingredients until just mixed.
- Fold in the diced apples.
- Pour the batter into a greased loaf pan.
- Bake for 60-70 minutes, or until a toothpick comes out clean.
- Let it cool before slicing.
Notes
- Try adding nuts or raisins for extra flavor.
Nutrition
- Serving Size: 1 slice
- Calories: 200
- Sugar: 10g
- Sodium: 200mg
- Fat: 8g
- Saturated Fat: 1g
- Unsaturated Fat: 6g
- Trans Fat: 0g
- Carbohydrates: 32g
- Fiber: 1g
- Protein: 3g
- Cholesterol: 30mg
Keywords: Apple Bread, Homemade Bread, Cozy Recipe